Effortlessly Sync Your Android Phone with Windows 11: A Step-by-Step Guide

Are you looking to streamline your digital life by syncing your Android phone with your Windows 11 PC? You’re in the right place! This guide will walk you through the simple steps to establish a seamless connection between your devices. Say goodbye to the hassle of juggling multiple devices and hello to a more integrated experience.
Step 1: Enable Bluetooth on Both Devices
First things first, let’s get the basics sorted. Ensure that Bluetooth is enabled on both your Android phone and Windows 11 PC. You can find the Bluetooth settings in the ‘Settings’ menu on both devices.
Step 2: Pair Your Devices
On your Windows 11 PC, navigate to ‘Settings’ > ‘Devices’ > ‘Bluetooth & other devices’. Click on ‘Add Bluetooth or other device’ and select ‘Bluetooth’. Your PC will now search for nearby devices. Select your Android phone from the list and follow the on-screen instructions to pair.
Step 3: Install Your Phone Companion App
To enhance the connectivity, download the ‘Your Phone Companion’ app from the Google Play Store on your Android phone. This app is designed to work seamlessly with Windows 11, offering features like message synchronization, photo transfer, and more.
Step 4: Link to Windows
After installing the app, open it and sign in with your Microsoft account. Then, on your Windows 11 PC, search for the ‘Your Phone’ app (pre-installed in Windows 11) and open it. Follow the prompts to link your Android phone to your PC.
Step 5: Enjoy Seamless Integration
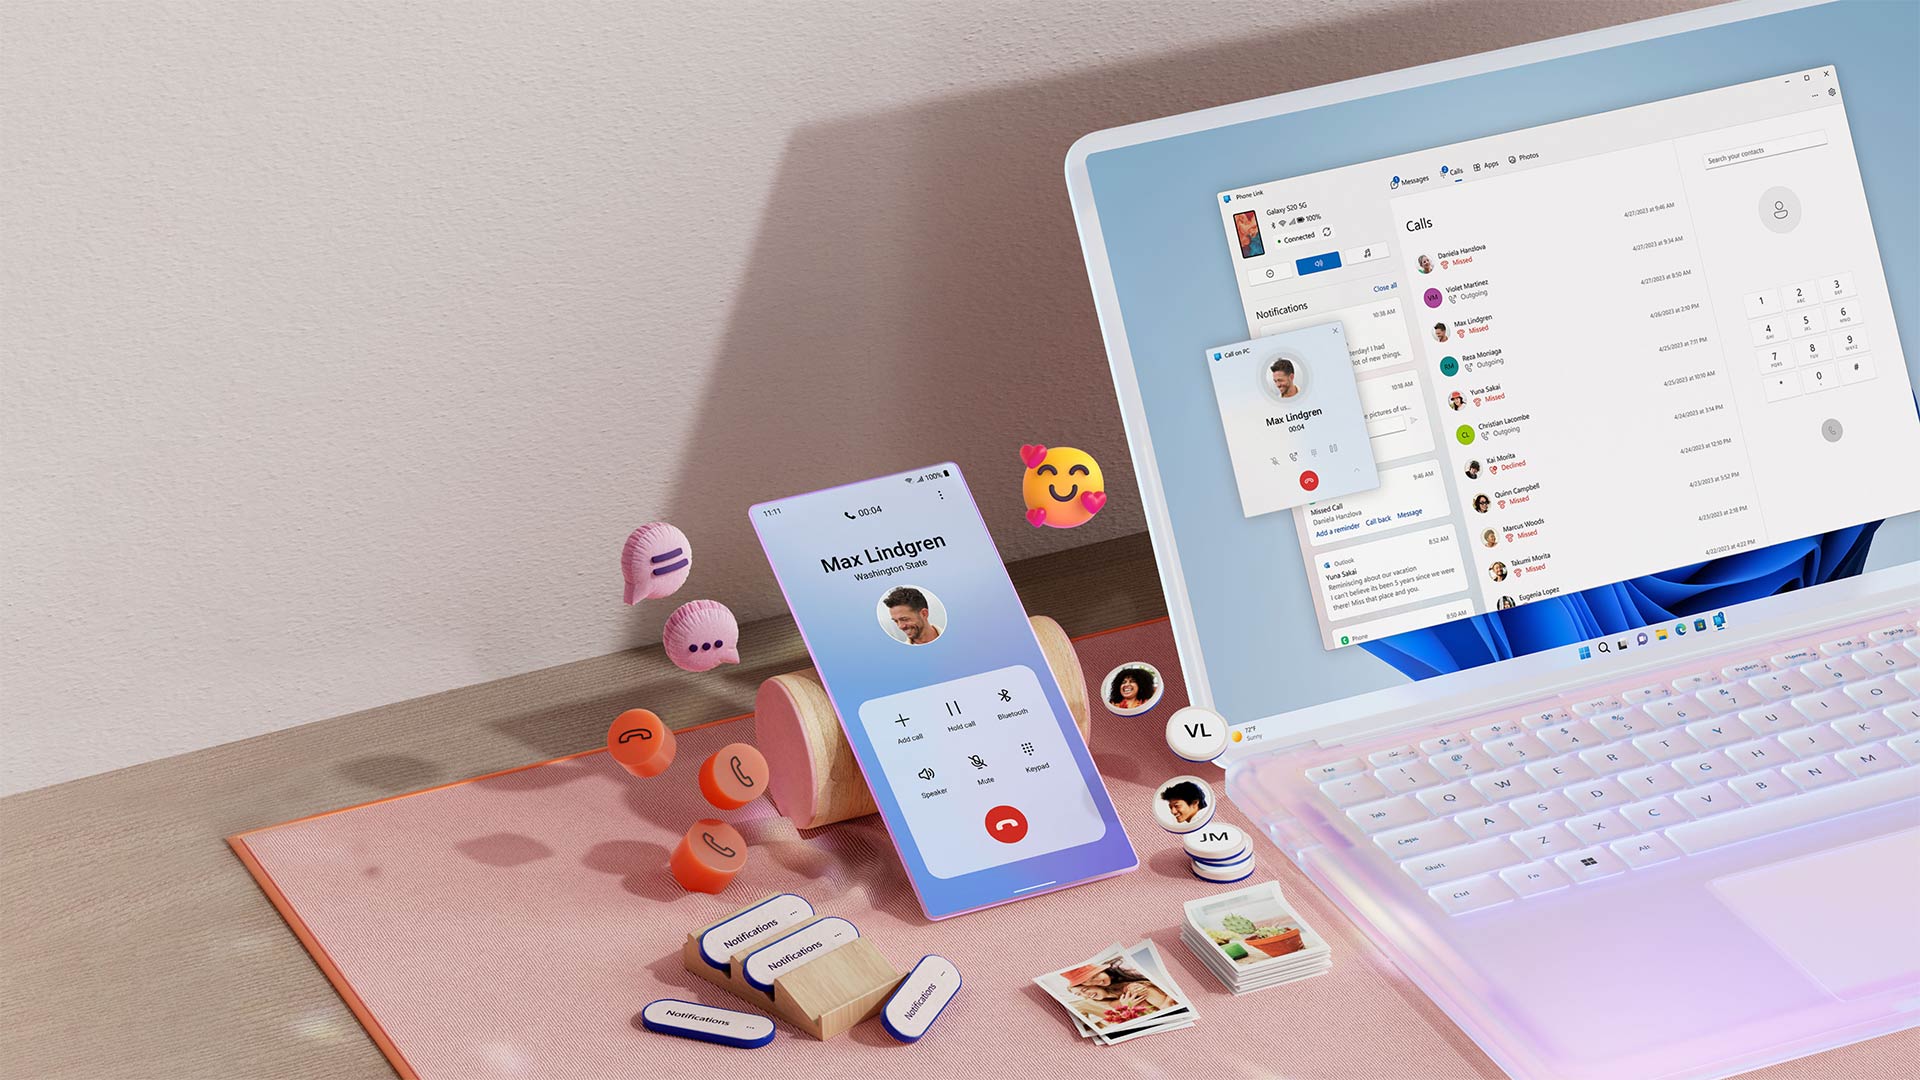
Once linked, you’ll experience the magic of having your phone’s notifications, messages, and photos directly accessible on your PC. You can even make and receive calls through your computer.
Note: Remember, the steps mentioned may slightly vary depending on the make and model of your Android phone and the version of Windows 11.